
Over the past few weeks, I've been doing a lot of wintertime camping in my little micro camper, during my weekend snowboarding trips up to Sunrise Park in Greer, Arizona. In that time, I've learned a lot- and as a result, I've made quite a few changes (big, and small) to the camper, while putting another 1,536 miles on the little guy.
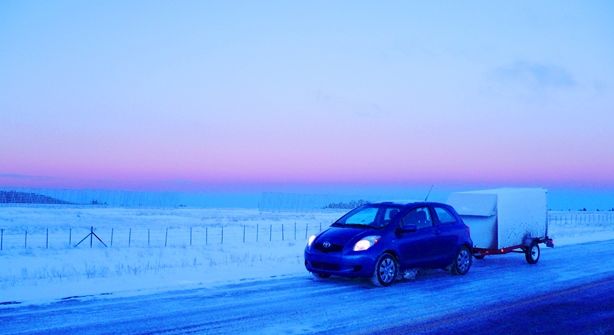
The first thing that I should note, is that the little camper pulls straight as an arrow in all sorts of atrocious driving conditions- much against the predictions of my friends and family, who thought that it would be adversely (and severely) affected by crosswinds. Of course, on my way to and from Sunrise Park, I routinely have to drive across AZ 273... a stretch of road that's notorious for it's strong and persistent crosswinds (and, as you can see, road ice as well).
The trailer simply does not deviate from the straight and narrow, ever, under any circumstance. A pleasant surprise, indeed. Let's hope that trend stays permanent.

Typical road conditions on AZ 273, on the way to Sunrise Park Resort. Awful road conditions- but, a wonderful photo-op...!
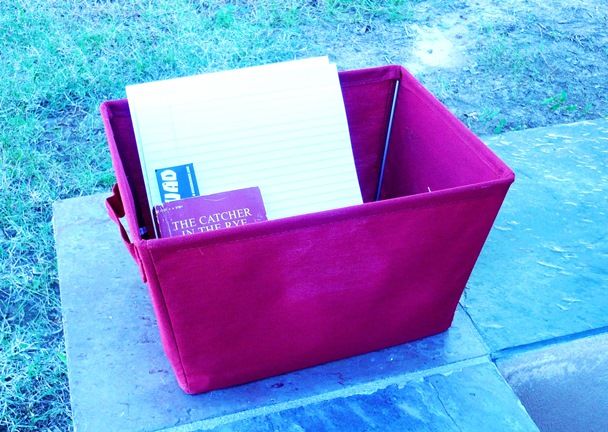
I bought this canvas tray at Wal-Mart last week for about $5, to hold all of the loose stuff that normally sits on my headboard when I'm camping- but, that can turn into loose projectiles when the camper is in motion. Namely: candles, lighters, pens, notepads, books, small lanterns, etc. With the tote, I can put everything away each morning, and still have it in easy reach every evening. Not too shabby...!
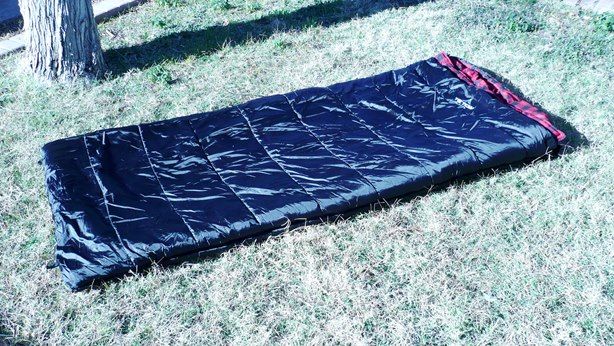
The next purchase was a new Teton 0-degree, XXL sleeping bag from Dick's Sporting Goods (online). The polyester fabric doesn't hold moisture like my old 20-degree Field and Stream bag does, which is important in a camper that's been woefully prone to condensation. The Teton bag works, and works great, all the way down to true-zero-degree temperatures. Yet, it's also very soft, comfortable, and roomy.
I sleep much more soundly now, that I have this beast of a sleeping bag.
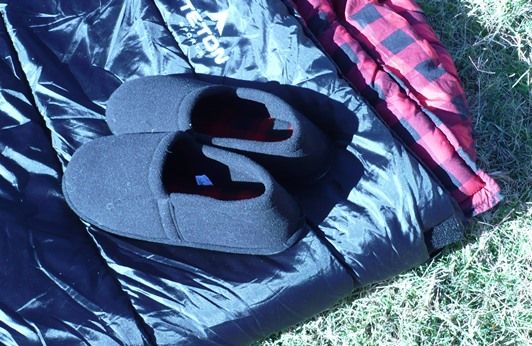
While I was at it, I also bought some matching slippers at Wal-Mart for under $7- a real bargain! The insoles of the slippers even match the sleeping bag, which is an extra bonus...! But really, appearances aside, they're a lifesaver on those super-cold nights when wool socks just aren't quite toasty enough to keep your feet warm. Although form does follow function, it's nice that I can find stuff that have plenty of both- and even better, everything matches everything else.

The next big installations were done on Christmas Day, and admittedly, were a little overdue. The first was the installation of a roof vent in the camper- which, hopefully, will nullify the persistent condensation/ventilation shortcomings of this particular camper. The vent has a screw-jack opening mechanism, a weather seal, and an inner screen (for bug control in the summertime), and cost me $68 at Camping World over in Avondale, Arizona.
The installation was simple and straightforward: rough out a square opening in the roof (about 13.75" square), drill some #10 holes in the vent flashing (shown above) for the wood screws; lay down a bead of silicone around the perimeter; fit the vent into the roof; and, screw 'er down snug...! Very easy, very simple, and only took about an hour, of which 3/4 of that time was spent sluffing off and drinking cold Cokes. A small price to pay to stay dry and comfortable, I do say.
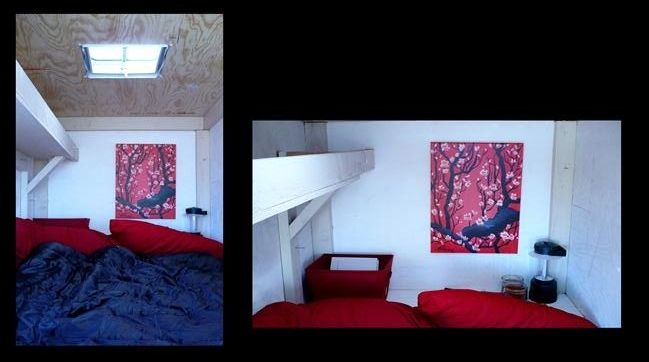
The skylight also adds some much-needed natural light to the camper interior. I'll finish the paint-and-trim within the next few weeks...
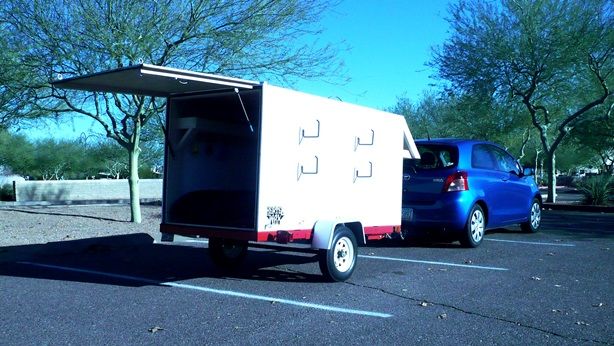
The other long-overdue addition was the installation of a pair of gas springs to the rear door, to make opening it (from the inside, at least) much easier, while also giving it some more convenient supporting arms when it's in the open position. Once again: the reason for the upward-hinging door was to provide some sun/rain/snow protection when I'm getting in and out of the camper. In short: it doubles as an awning when it's open- something that "normal", side-mounted doors could never do on their own.
Previously, the rear door was manually opened from the inside (using my shoulders, and a whole lotta effort), and then propped open with a pair of long sticks... which worked fine, as far as they went. But, they did end up proving themselves to be a bit of a pain in the ass... more than I thought they'd be. And opening that large, heavy door from the confined inside of the trailer also proved much more difficult than I'd originally imagined.
The gas springs were about $34 for the pair at AutoZone, and the installation hardware might have been another $10 or so...? The springs took a few hours of trial-and-error to install- but boy, were they worth it...! Now, the door opens itself with the slightest of nudges from the inside, in a smooth and controlled manner. Very cool, very boss...!
The biggest trial-and-error problem was, where to mount each end, so that the door would use the entire travel length of the gas springs, without running out of length before the door completely closed. And of course, like most teenagers, I didn't exactly pay the best of attention in my high-school trigonometry classes, either.
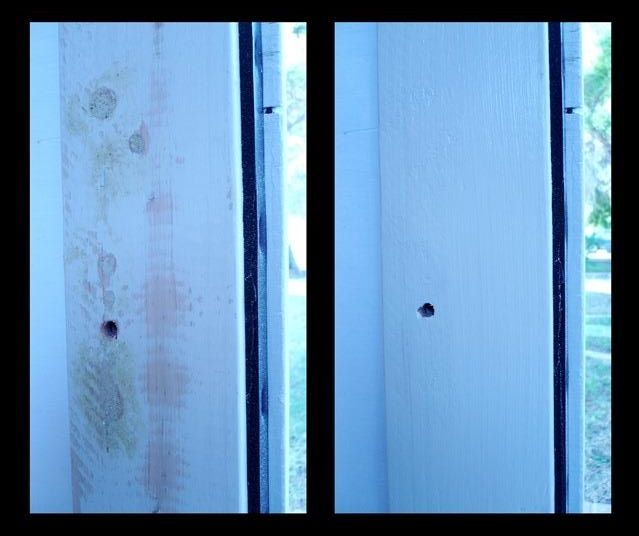
The end result was several "Oops!" holes in my 2x4 rear supports, as I tried to find the ideal positioning for the springs. The answer was some quick "wood spackle"- which is a combination of sawdust, and wood glue, that is pressed into the "Oops!" holes, left to dry- then sanded smooth, and painted over. As you can see, once they're painted, the old holes are impossible to detect...! Try learning that trick in a high-school math class, kids...!
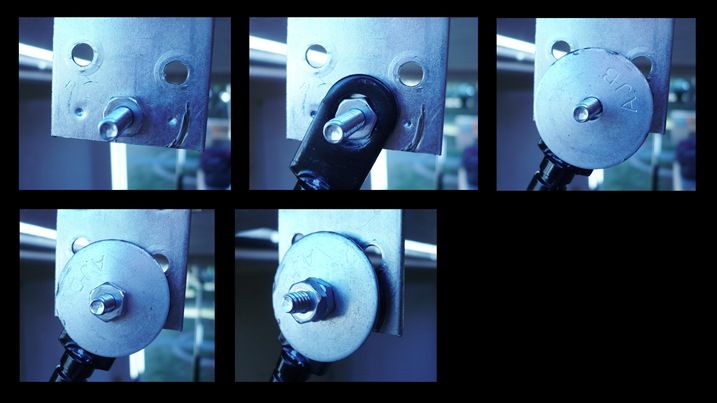
The gas springs have 3/8" mounting holes on either end- whereas the angle brackets could only accommodate a #10 screw. This left a lot of "slop" in my system, until I realized that I could just use a 3/8" nut as a spacer...! Problem solved...! Once I got the nut on, and the spring over it, I used a fender washer to keep them secure, and used two more 3/8" nuts to lock it all into place.
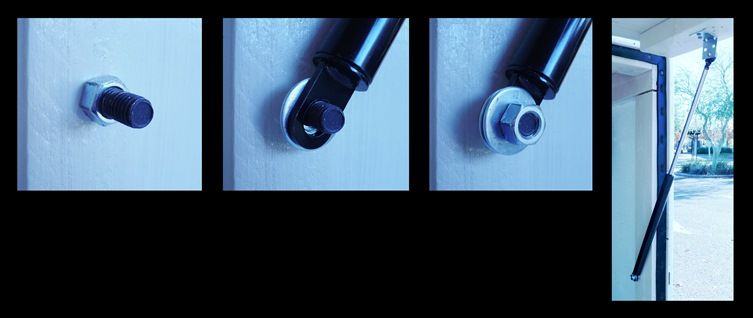
On the bottom end, I used a lag bolt/machine bolt combo to secure the gas spring to the 2x4 upright. Once again, I used a nut as a spacer, a washer on either side of the spring for smooth pivoting, and another nut to secure it all together. The last photo shows the entire assembly in the trailer.
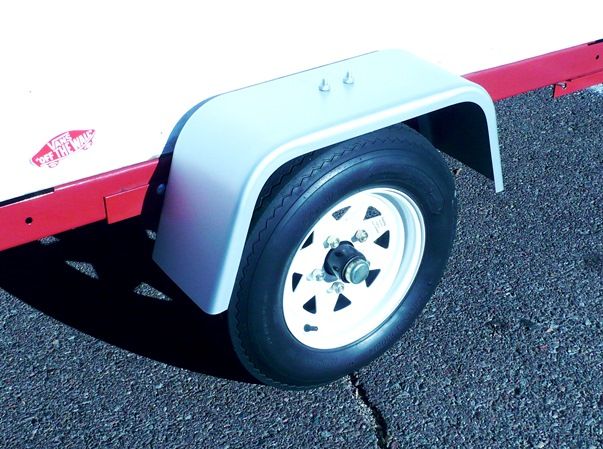
Another Christmas Day addition was a nifty pair of "jeep" style fenders that I bought at Century Wheel & Rim here in Phoenix for about $68 (for the pair). Four drilled holes later (two on each fender), and a quick spray with a coat of aluminum Rustoleum, and voila...! These fenders are much deeper than the stock Harbor Freight fenders, so hopefully they'll cut down on the road-crud a little bit.
The finished product...! We're gettin' there...!
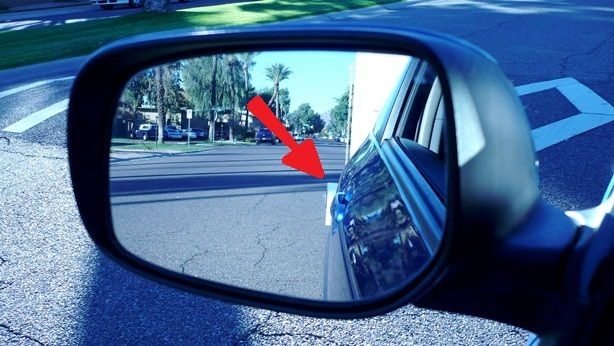
One of the unintended bonuses of the deeper fenders, is that the trailer is now much easier to back into tight spaces. The fenders show up quite prominently in the rearview mirrors; when you see this in both side mirrors, you know that you're backing up in a straight line. A very handy visual queue when you're trying to back smartly and neatly into tight spaces, without looking like a total noob.
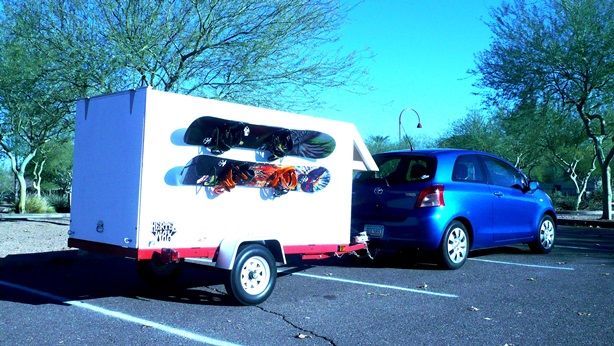
A lot of folks have openly asked me what the prominent brackets are for on the passenger side of the camper shell. The answer: they're for hanging wet, snow-and-ice caked snowboards out to dry, before stowing them away inside. Otherwise, they'd be dripping snow and water all over my mattress and sleeping bags, which would not be cool at all. They can also be locked to the outside, deterring would-be thieves.
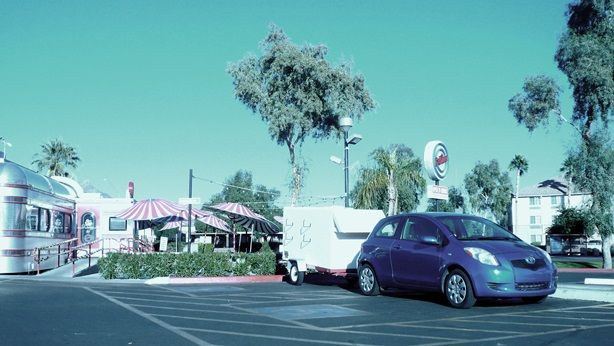
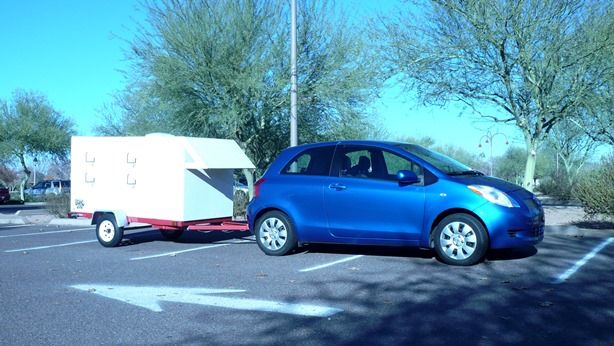
The finished (amended) camper at the "5 and Diner" on Phoenix's northeast side. Next up: a few more weekend trips, and a revision to the nose of the trailer to make it more aerodynamic, while also adding a dozen (or so) cubic feet of additional storage space. Then, in February, it's my month-long pilgrimage to Mt. Bohemia in Michigan's Upper Peninsula, where we'll really be putting the camper to the test...!
See ya on the road...!
______________________________________
Recent Stats:
Average mpg: 29.06 @ 55mph (up from 26.86 @ 65 mph)
Miles traveled (as of December 22nd): 2000.9
TCI ("Total Cost Involved" - including recent purchases, and returns): $1960.76

