
I've been promising a full pictorial journal of the camper build for a week or so... finally, here it is...! But before I begin the pictorial, I'd like to say one thing. And that one thing is, "It's easier than it looks. Really...!" The beauty behind the design of this camper is that it really requires the very minimum of woodworking skills, and the only tolls you'll need are a circular saw, a tape measure, a straight edge, a pencil, a drill, a 1/8" drill bit, two 9/16" combination wrenches, and a #2 Phillips bit. And later, a paint brush and paint. If you had to go buy all of these tools brand-new, you'd still be hard-pressed to spend more than $100 on everything, and more than 12 hours (or so) actually building this. That said, here's the tutorial...!
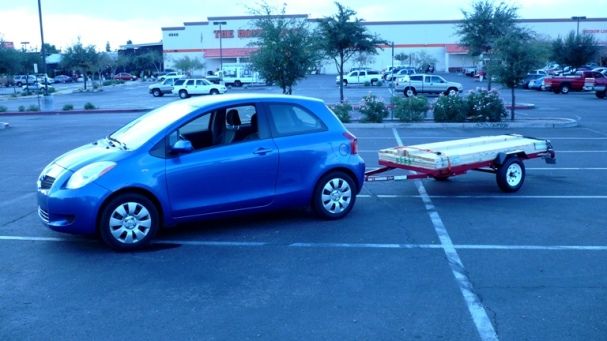
Here's the wood, on my brand-new Harbor Freight flatbed. The trailer weighs a mere 300 lbs, empty; with the wood, it probably weighed about 700-800 lbs. It still felt very much like it was pulling nothing at all behind the car... a good omen.
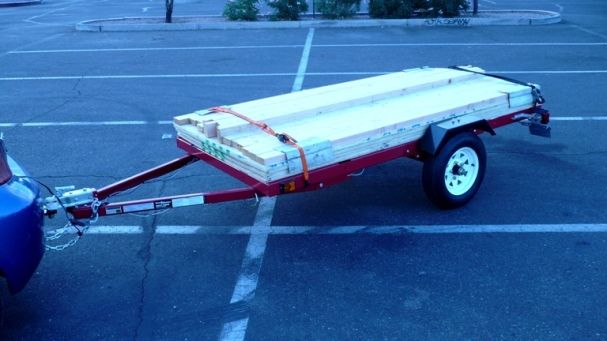
If my memory serves me correctly (and it never really does, but oh well), what we have here are (7) sheets of 5/8" BC plywood, and (17) fir 2 x 4's... not pine, because pine cracks and warps sooooo bad, but fir stays straighter, is a little more dense, and thus, is stronger- even if it is a little heavier, as a result. The wood cost, then, was about $282. But there's some hardware inside the Yaris that brought my bill to around $360 or so.
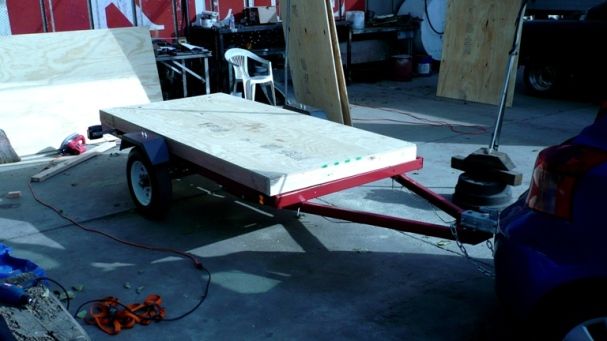
I built the floor first, upside-down, so that it'd be easy to screw the floor to the 2 x 4 perimeter frame. It's a full 4' x 8' sheet, with 5/8" trimmed off of the sides, and off of the rear; this accommodates the walls, and the rear door, while ensuring that the overall size of the box will be 96 5/8" long, 48 5/8" tall, and 48" wide... so it sits perfectly on the bed of the trailer, with minimal overhang (the only overhang being 5/8" off of the nose). It also ensures minimal cutting, and maximum interior space.
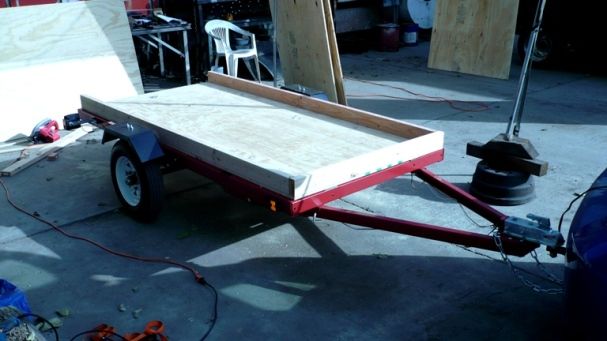
Then, I flipped the floor right side up...
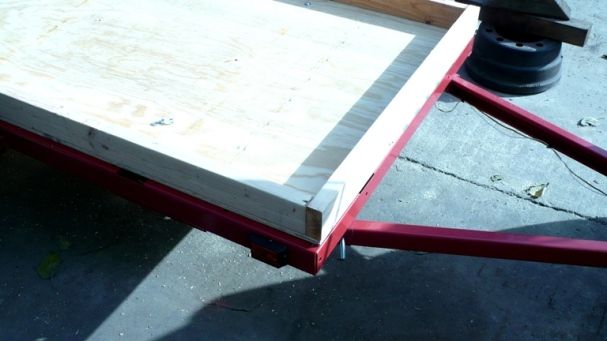
... centered it on the trailer, leaving 5/8" on each side for the walls...
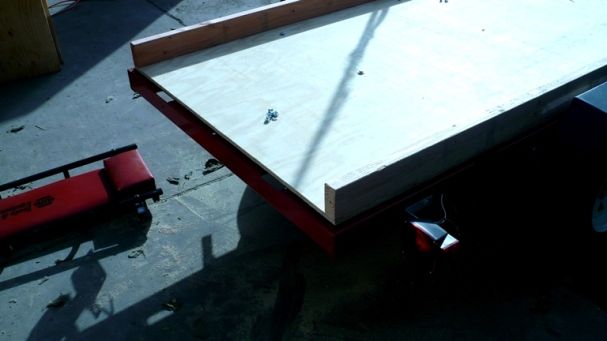
... drilled the holes in the floor, and bolted it to the trailer. I used the pre-drilled holes that were already in the trailer, in the center of the reinforcing ribs, for nine bolts, total.
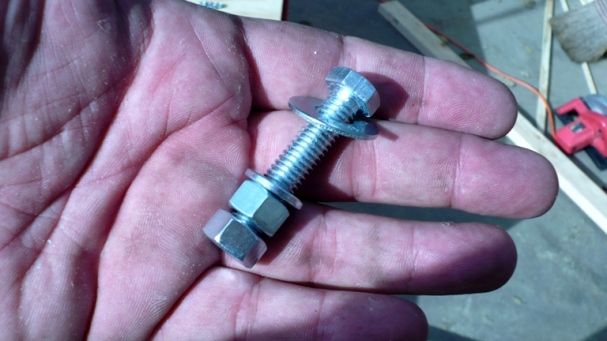
The bolts were installed head-up, and used flat washers above the floor, lockwashers under the trailer, and two nuts, locked together, for redundancy. This insures that the nuts will never, ever vibrate loose. These are 3/8" machine bolts (with 9/16" heads), 2 1/2" long.
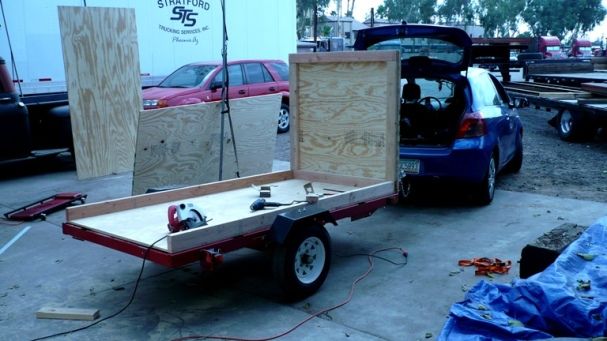
Once the floor was bolted on tight, the front wall was screwed to the floor. In retrospect... because the front wall sits in front of the trailer frame, instead of over it... I should have screwed this on first, then slid the floor forward, and bolted it to the trailer. This would have allowed the front wall to sit on the trailer deck, as I centered it up and screwed it on. In my case, I simply stacked wood scraps on the tongue to support the front wall, while I held it up with one hand, and screwed it in with the other.
It's important to point out that the front wall covers both side walls of the trailer, and the floor; the roof covers both side walls, the front wall, and the door; and, both walls butt up against the sides of the floor. The rear door is sunken in between the sides, under the roof, and butts up against the floor. This means that all of the seams are oriented in directions where they won't be naturally prone to leak, and where they're [relatively] protected from the airflow over the trailer, when the camper is in forward motion. The trailer is fastened together by Gorilla Glue, and 2" exterior [galvanized], coarse-thread deck screws. The screws provide the holding power; the glue is basically there to fill the seams (Gorilla Glue will expand to fill voids and gaps pretty readily).
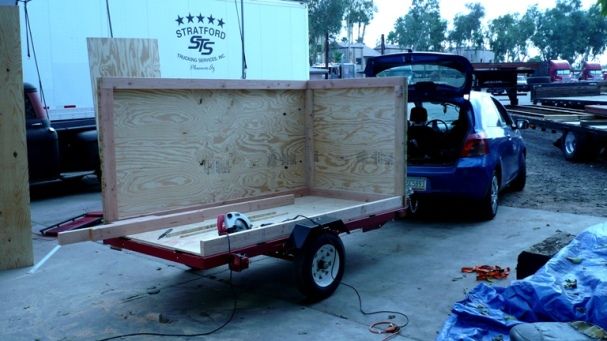
Once the front wall is on, the rest of the trailer basically falls right into place. The wall sits on the trailer frame, and is screwed first into the front wall, before screwing it to the 8' long perimeter frame.
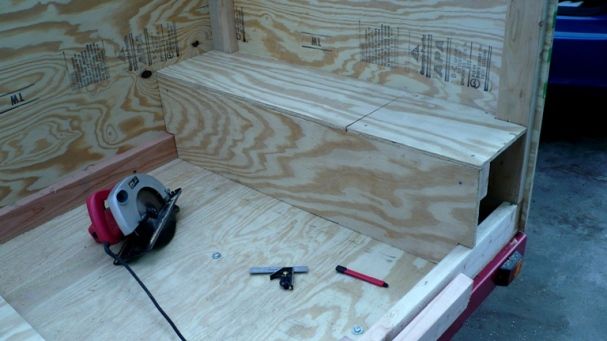
Next up came the internal headboard/storage box. It's 12" deep and 12" tall. The long part of the top simply sits into place; the short end is screwed firmly to the frame, because that's where the space heater sits; the space heater, in turn, is fastened to this short piece of fixed shelf, so it can't topple over and set me (or the camper) on fire.
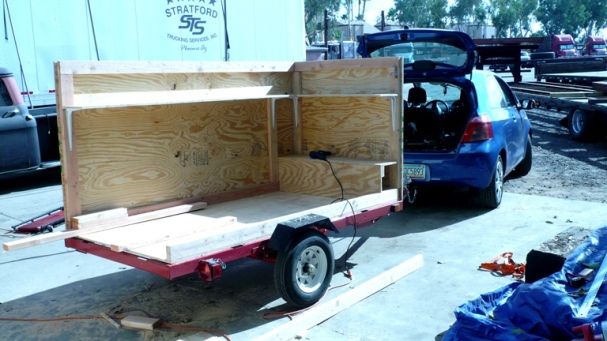
Next up, were the shelves. Note that there were originally two shelves; one running down the length of the drivers' side, and one across the front, directly above (and, the same size of) the headboard. As it turns out, the space heater was so hot that the heat rose straight up, and made the front shelf remarkably hot as well. Also, I kept hitting my head on that damned shelf, working in the trailer. Thus, the front shelf came out. As did the ugly, white steel brackets holding it up.
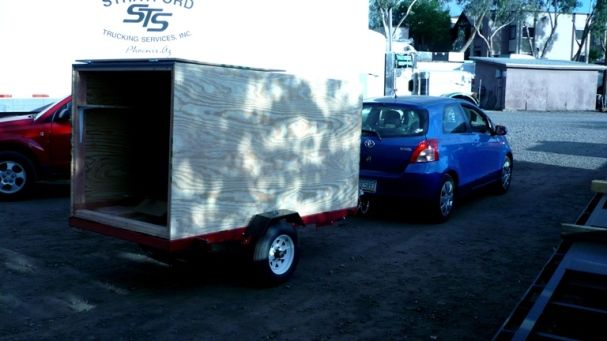
The finished shell. The sides, and the roof, are full 4' x 8' sheets, while the rear door is 46 3/4" wide by 48" tall. The top-hinging door was intended to double as a canopy, when opened.
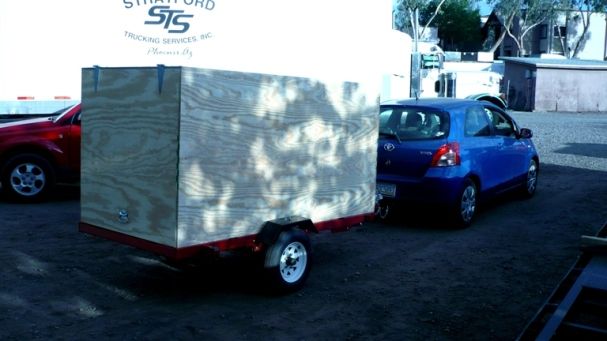
And with the rear door closed. Finished...! For the moment, at least...
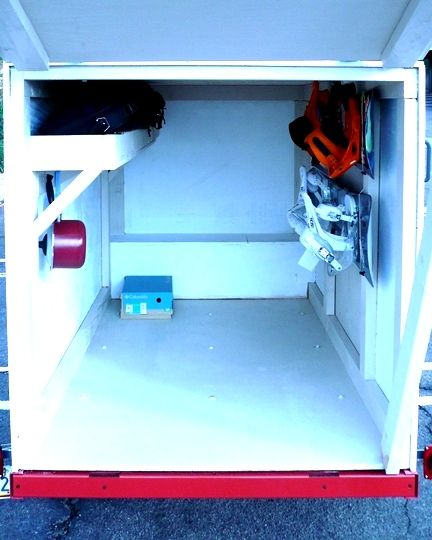
This is the inside, after revisions and paint. Note that the front shelf is gone, and the side shelf is now held up with 2 x 4's, cut at 45-degree angles. The side shelf also has a perimeter "fence" around it, using more 2 x 4's, to keep items from bouncing off while the camper is in transit. The snowboards hang on the passenger side by eye hooks and bungee cords. There are also L-hooks under the shelf for hanging things like battery-powered mini-lanterns (for light), as well as pots and pans (as shown), or whatever else you might want to hang.
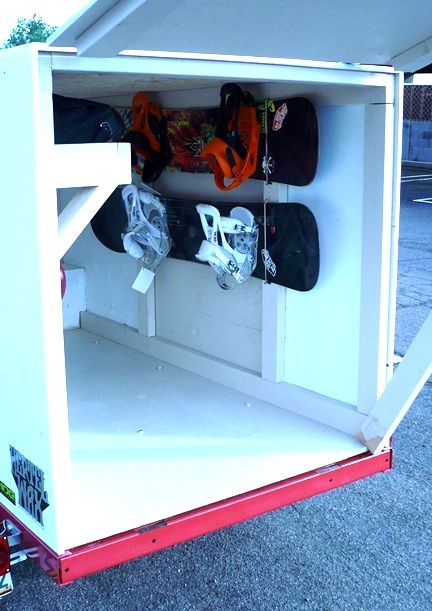
A different view of the inside, showing how the eye hooks (for the snowboards) are screwed into stout 2 x 4's; the outside snowboard hangars screw into the same 2 x 4's, from the other side.
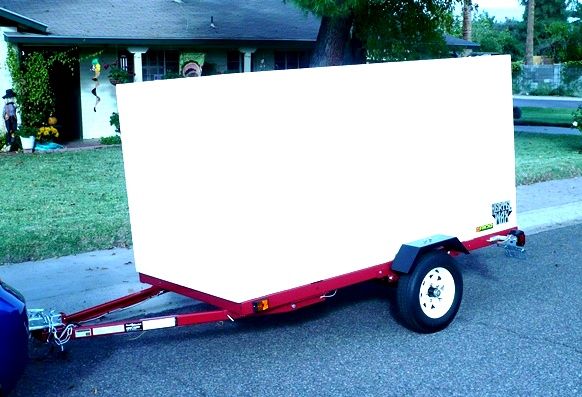
The drivers' side of the finished, and painted, camper.
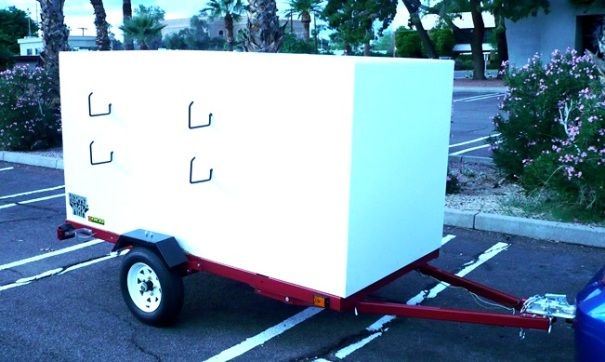
And, the passenger side. Those stout hangers are for hanging wet and/or snow-and-ice caked snowboards out to dry, before putting them inside the camper for the night. If they don't warm up and drip-dry, they can simply be locked to the outside of the camper overnight.
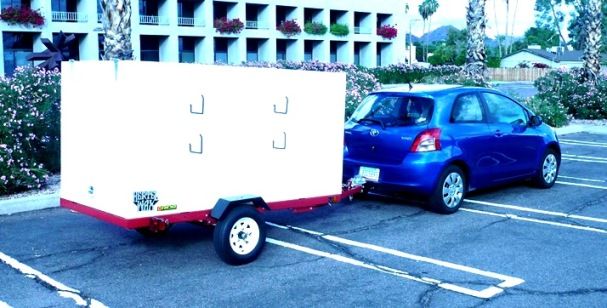
The rear view, with the door closed...
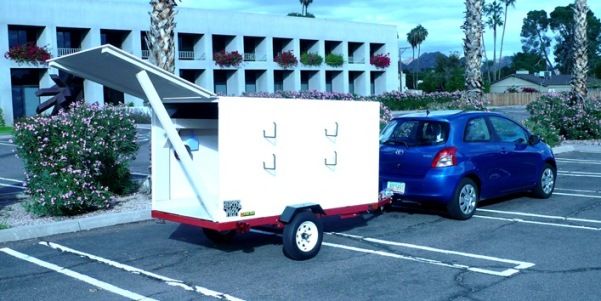
... and with the door open. I've recently replaced the single 2 x 4 with two shorter pieces of 5/8" plywood scraps; they're lighter, slimmer, and easier to handle. The door now sits in line with the roof when open, too.
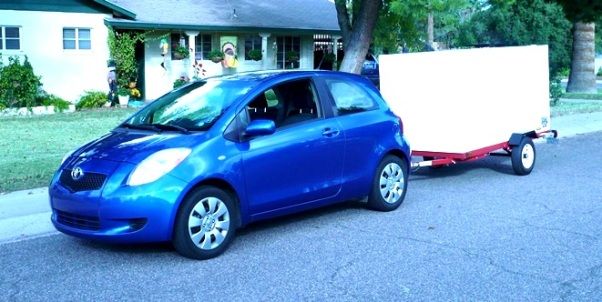
And, the frontal view. Which you've seen so much of, already...
